The techniques I use for lighting foregrounds during night time photography
I’ve been asked a few times of late what the best way to get detail out in my foregrounds when I do my night time photography. In this post I will outline my three favourite techniques, and in a future post I will walk through the steps I use in post processing and photoshop to create my final image.
Light Painting
Light painting is a technique that describes the process of using a torch or light source to illuminate parts of your photo whilst shooting a long exposure. There are many ways of doing this but I’ll describe the two that I find the most useful.
Using a low intensity light source:
If you want to get your foreground and background in a single exposure, this is one of the ways in which you can do so;
Set up your tripod and camera and expose for your sky (eg/ on my Nikon D850 with my Sigma 14mm f1.8 I would typically shoot at 2000-3000 ISO, 8s wide open). You will need to use either a timer on your camera or a remote shutter release.
I usually take a few test shots to make sure my focus and exposure is spot on at this stage
Set up a light source near your foreground interest.
I have used a torch with a plain, white t-shirt folded once or twice and cover the torch (you may need to play around with how many times to fold the torch to get the right intensity light level)
Or, the way I currently recommend is to use a light source that can be fine tuned/adjusted. I prefer the LumeCube which is a bluetooth enabled, waterproof (which has come in handy many times for my beach shots!) light that has an array of diffusers/filter attachments available to help adjust the light Kelvin and direction. I typically set the power to 1-2% depending on how far away I am from my foreground subject
Take your shot. You may need to adjust your light direction / intensity / proximity.
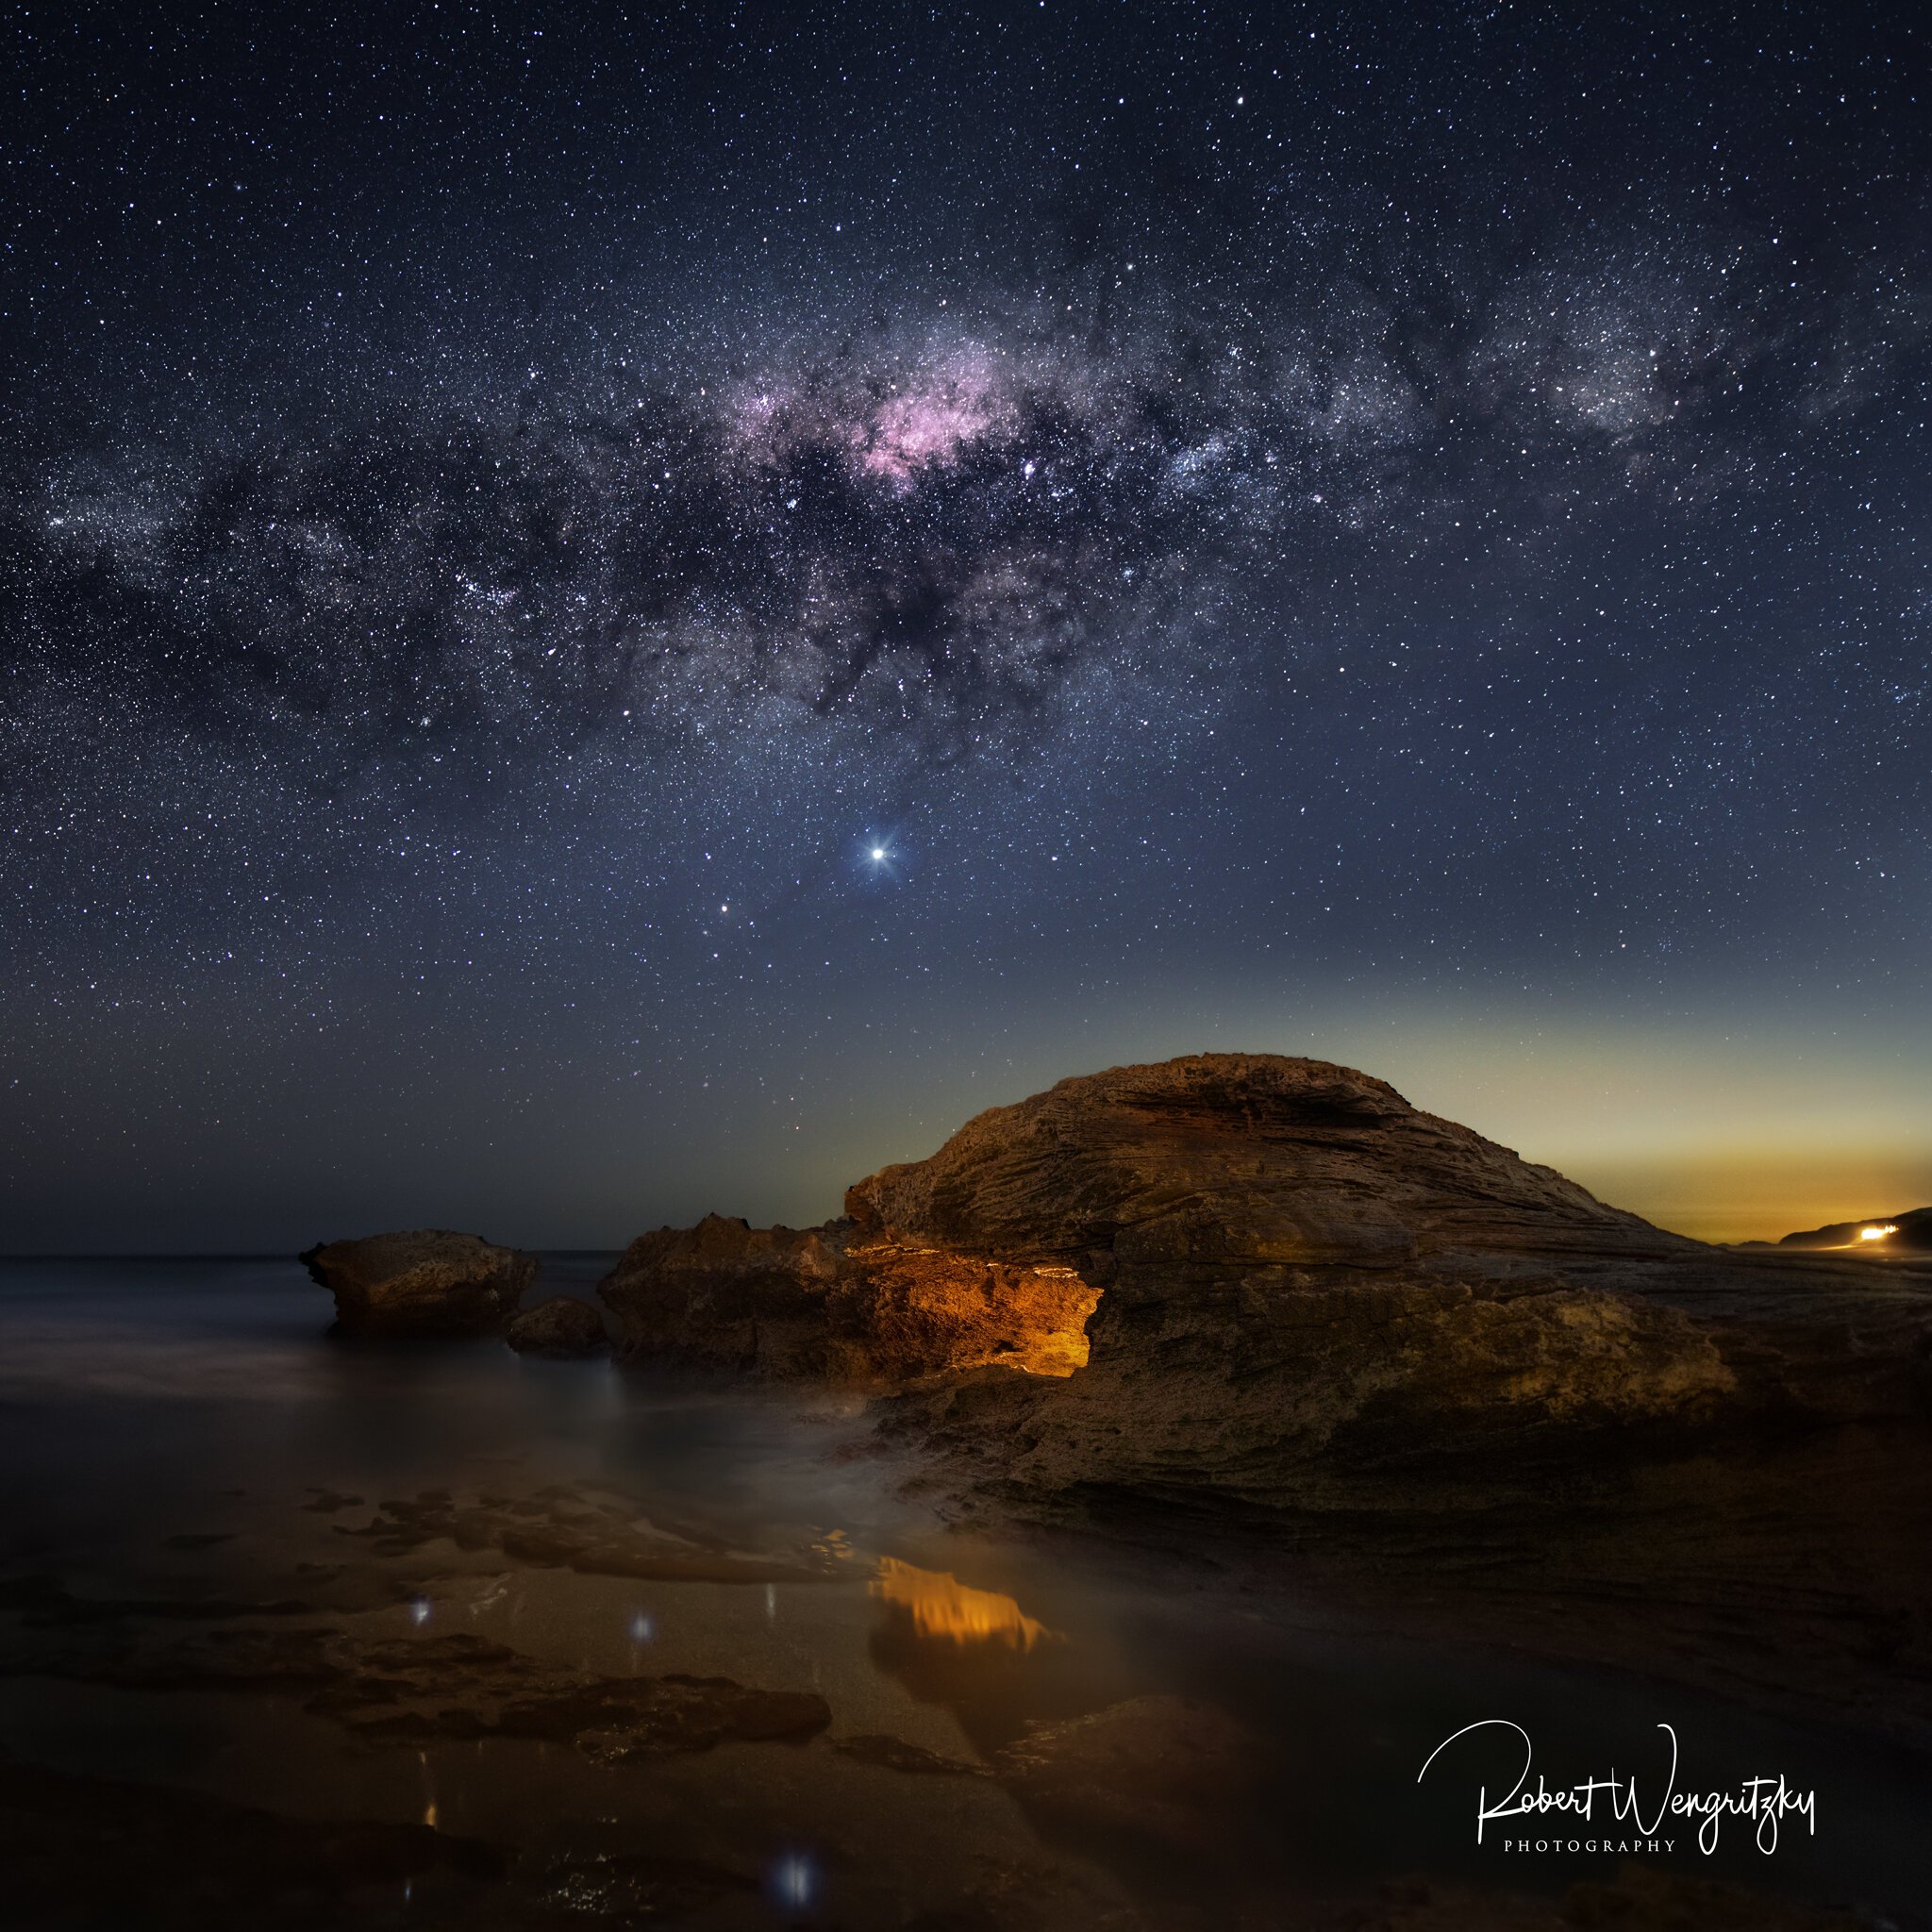
Sphynx Rock. I lit this rock up in several ways - the outside is done using a LumeCube light source set at 1% and sitting near my tripod with a diffuser to direct the light on to the rock. The inside was done with a second LumeCube set at 5% which I had to take multiple exposures off in various positions to get the whole inside glowing.
Using a higher intensity light source:
This method does often require layer stacking in post processing as you often can’t get the whole foreground without overexposing (ie/ you may need to paint the foreground in sections).
Set up in the same way, with your camera on a tripod, shutter release/timer and exposure set for the night sky
Get a torch/flashlight and point to one segment of your foreground
Start your exposure (here is where a shutter release is much more handy than using the in built camera timer)
Turn your torch on and then off - you want a very brief flash of light on the spot you are trying to paint here so that you don’t over expose. I also recommend positioning yourself away from your camera so that your lens doesn’t pick up the torch light in any direct fashion and wash out your sky
You will need to repeat the process for any other areas of the foreground you want lit up and then combine the images later in photoshop (see the below example)
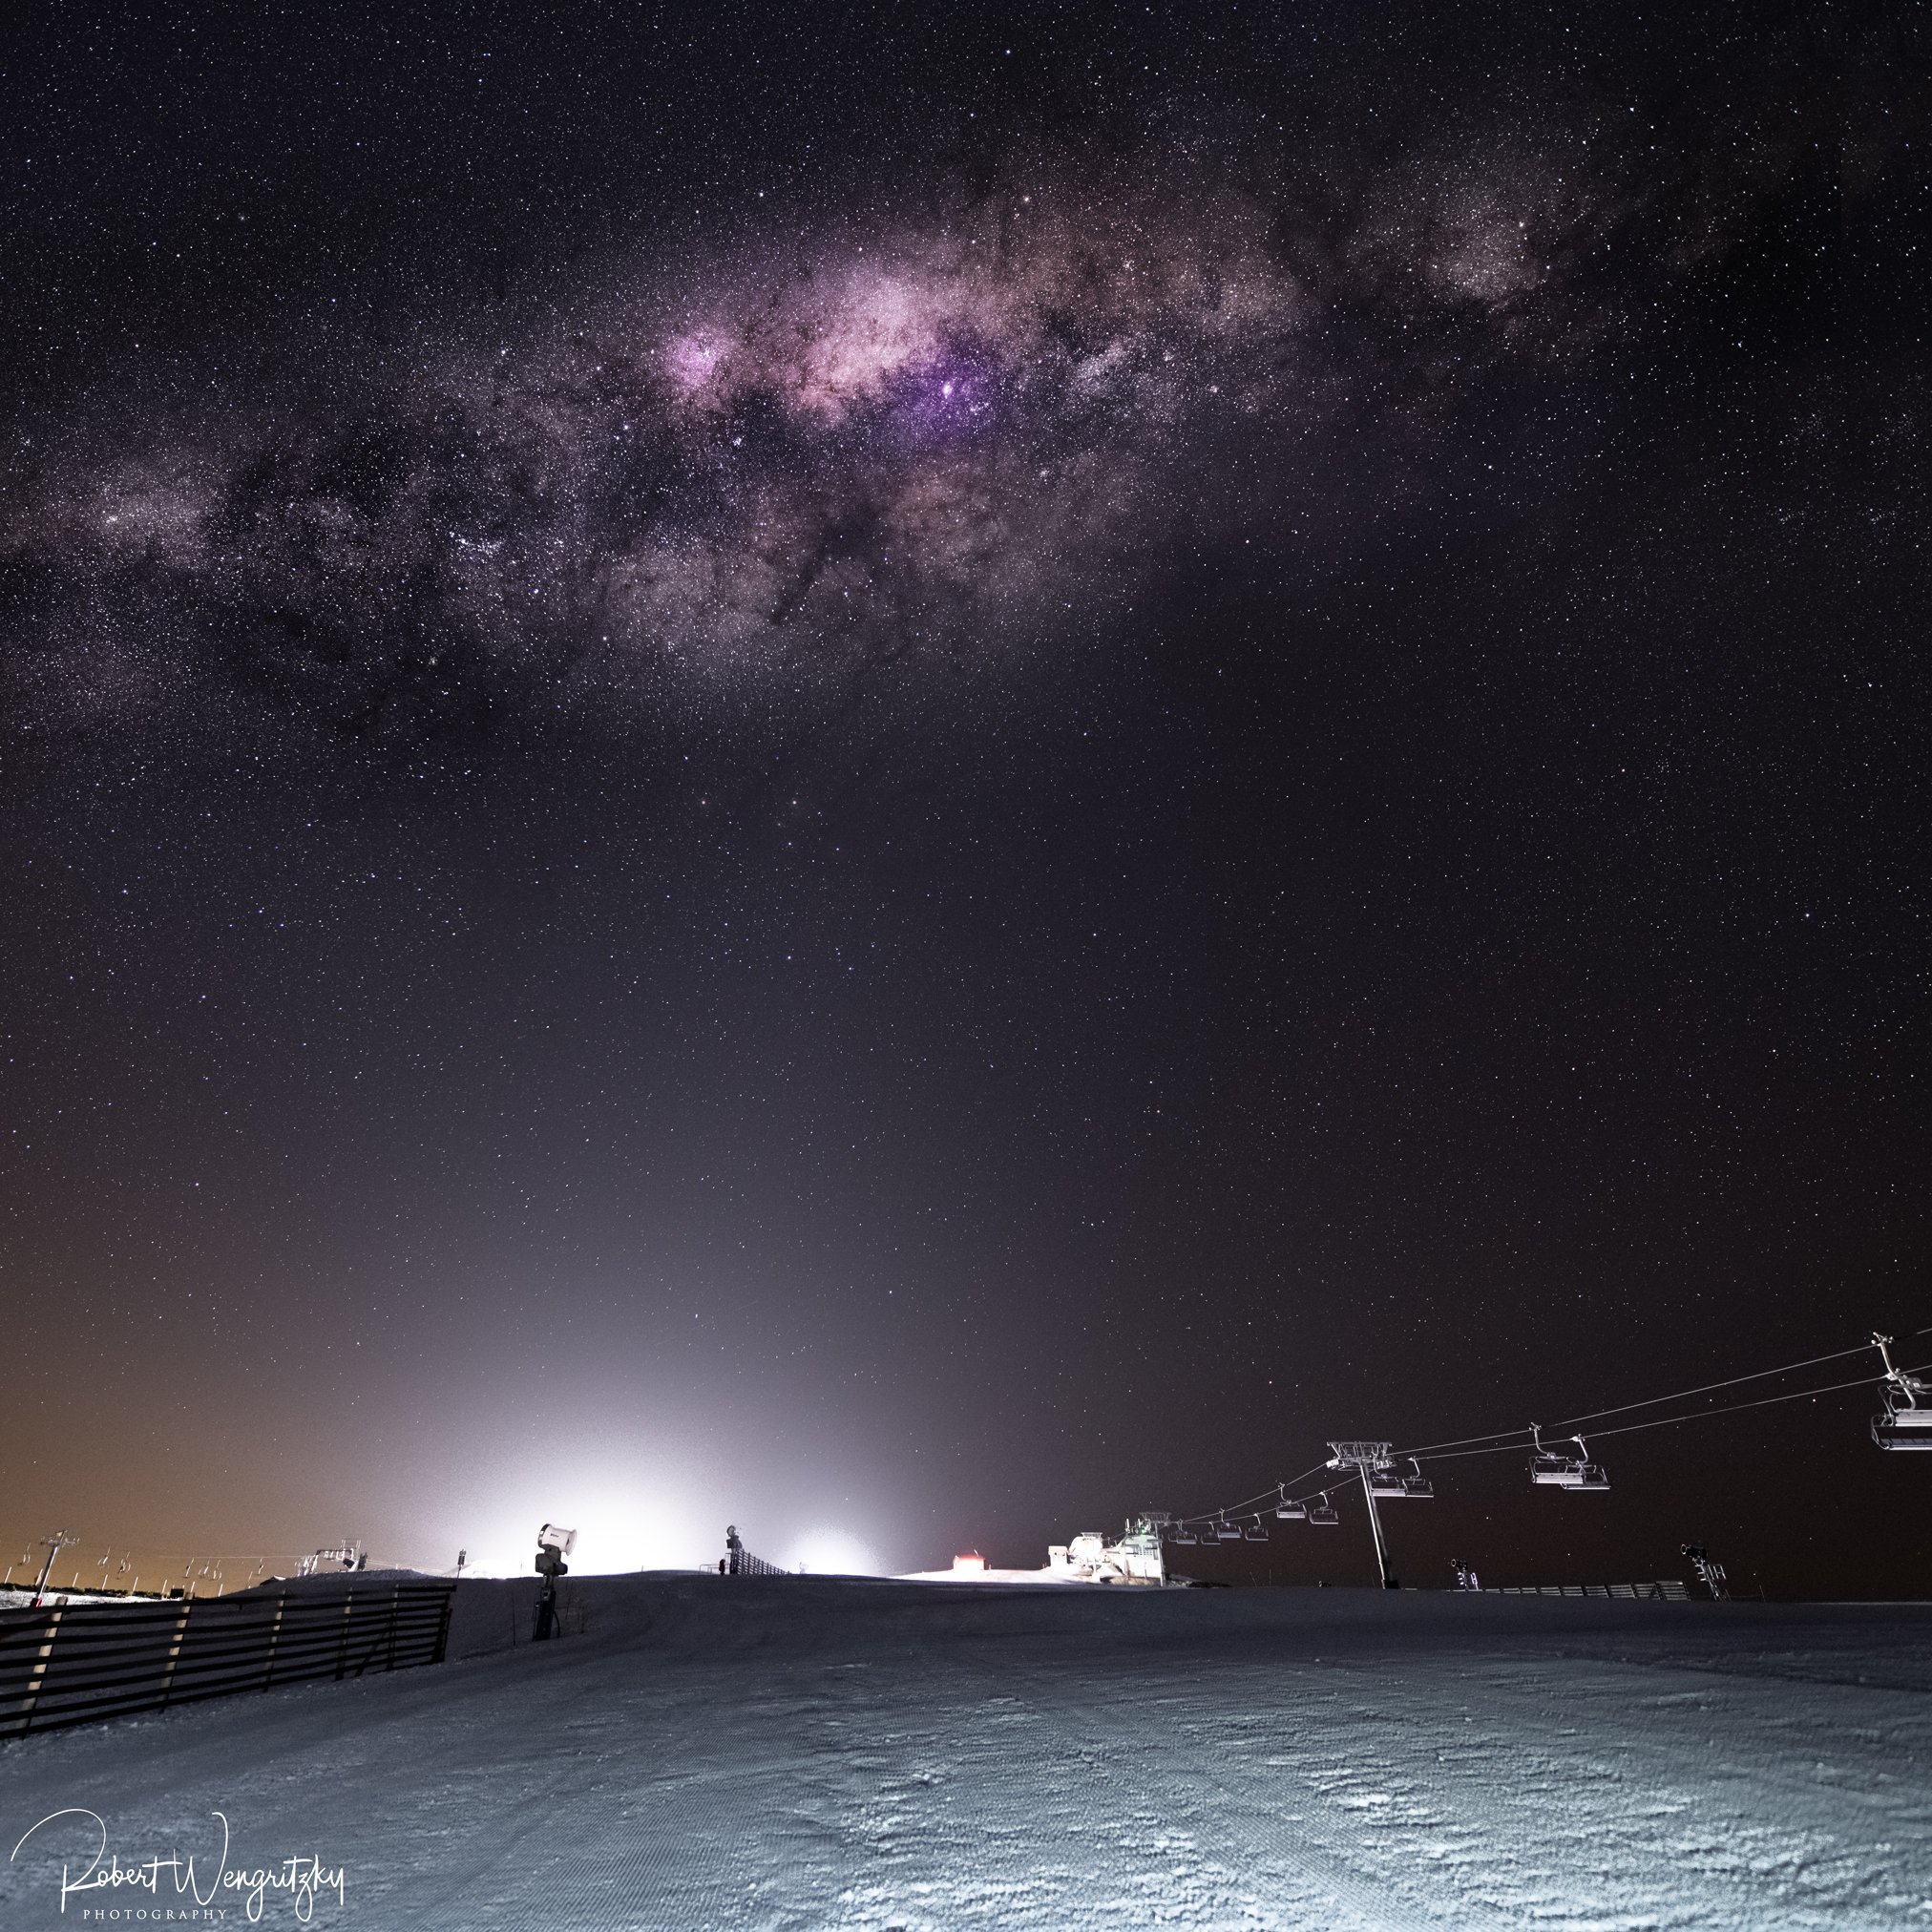
An example of higher intensity light painting. This method can over-expose if not done carefully but does provide a nice intense foreground light. This is a combination/stacked foreground using 5 different shots with the light “painted” on in columns to capture the whole field.
Capturing your foreground during Blue Hour
Blue hour refers to the ~ one hour after the sun has set (or before it has risen in the case of sunrise).
This method requires you have planned your shot well beforehand and know where the Milky-Way (or other night objects of interest) will be and at what time. It often works best when you know the core will be above your object of interest soon after blue hour ends; I often use this technique at the end of the Milky-Way season when the core is quite low in the sky much earlier in the night. At the very very end of the season, you can even get the Milky-Way and the last light of sunset in the same shot with a single exposure! This technique does require some patience and can be done in conjunction with time-lapses.
Set your tripod and camera up and frame your composition during blue hour
Expose for the foreground - I find it best if you take a few different exposures (bracketing) as this allows me to choose the best exposure for blending
Wait for the Milk-Way core or object of interest to set in to your frame and take your shots as normal
Combine your blue hour foreground with your sky shots
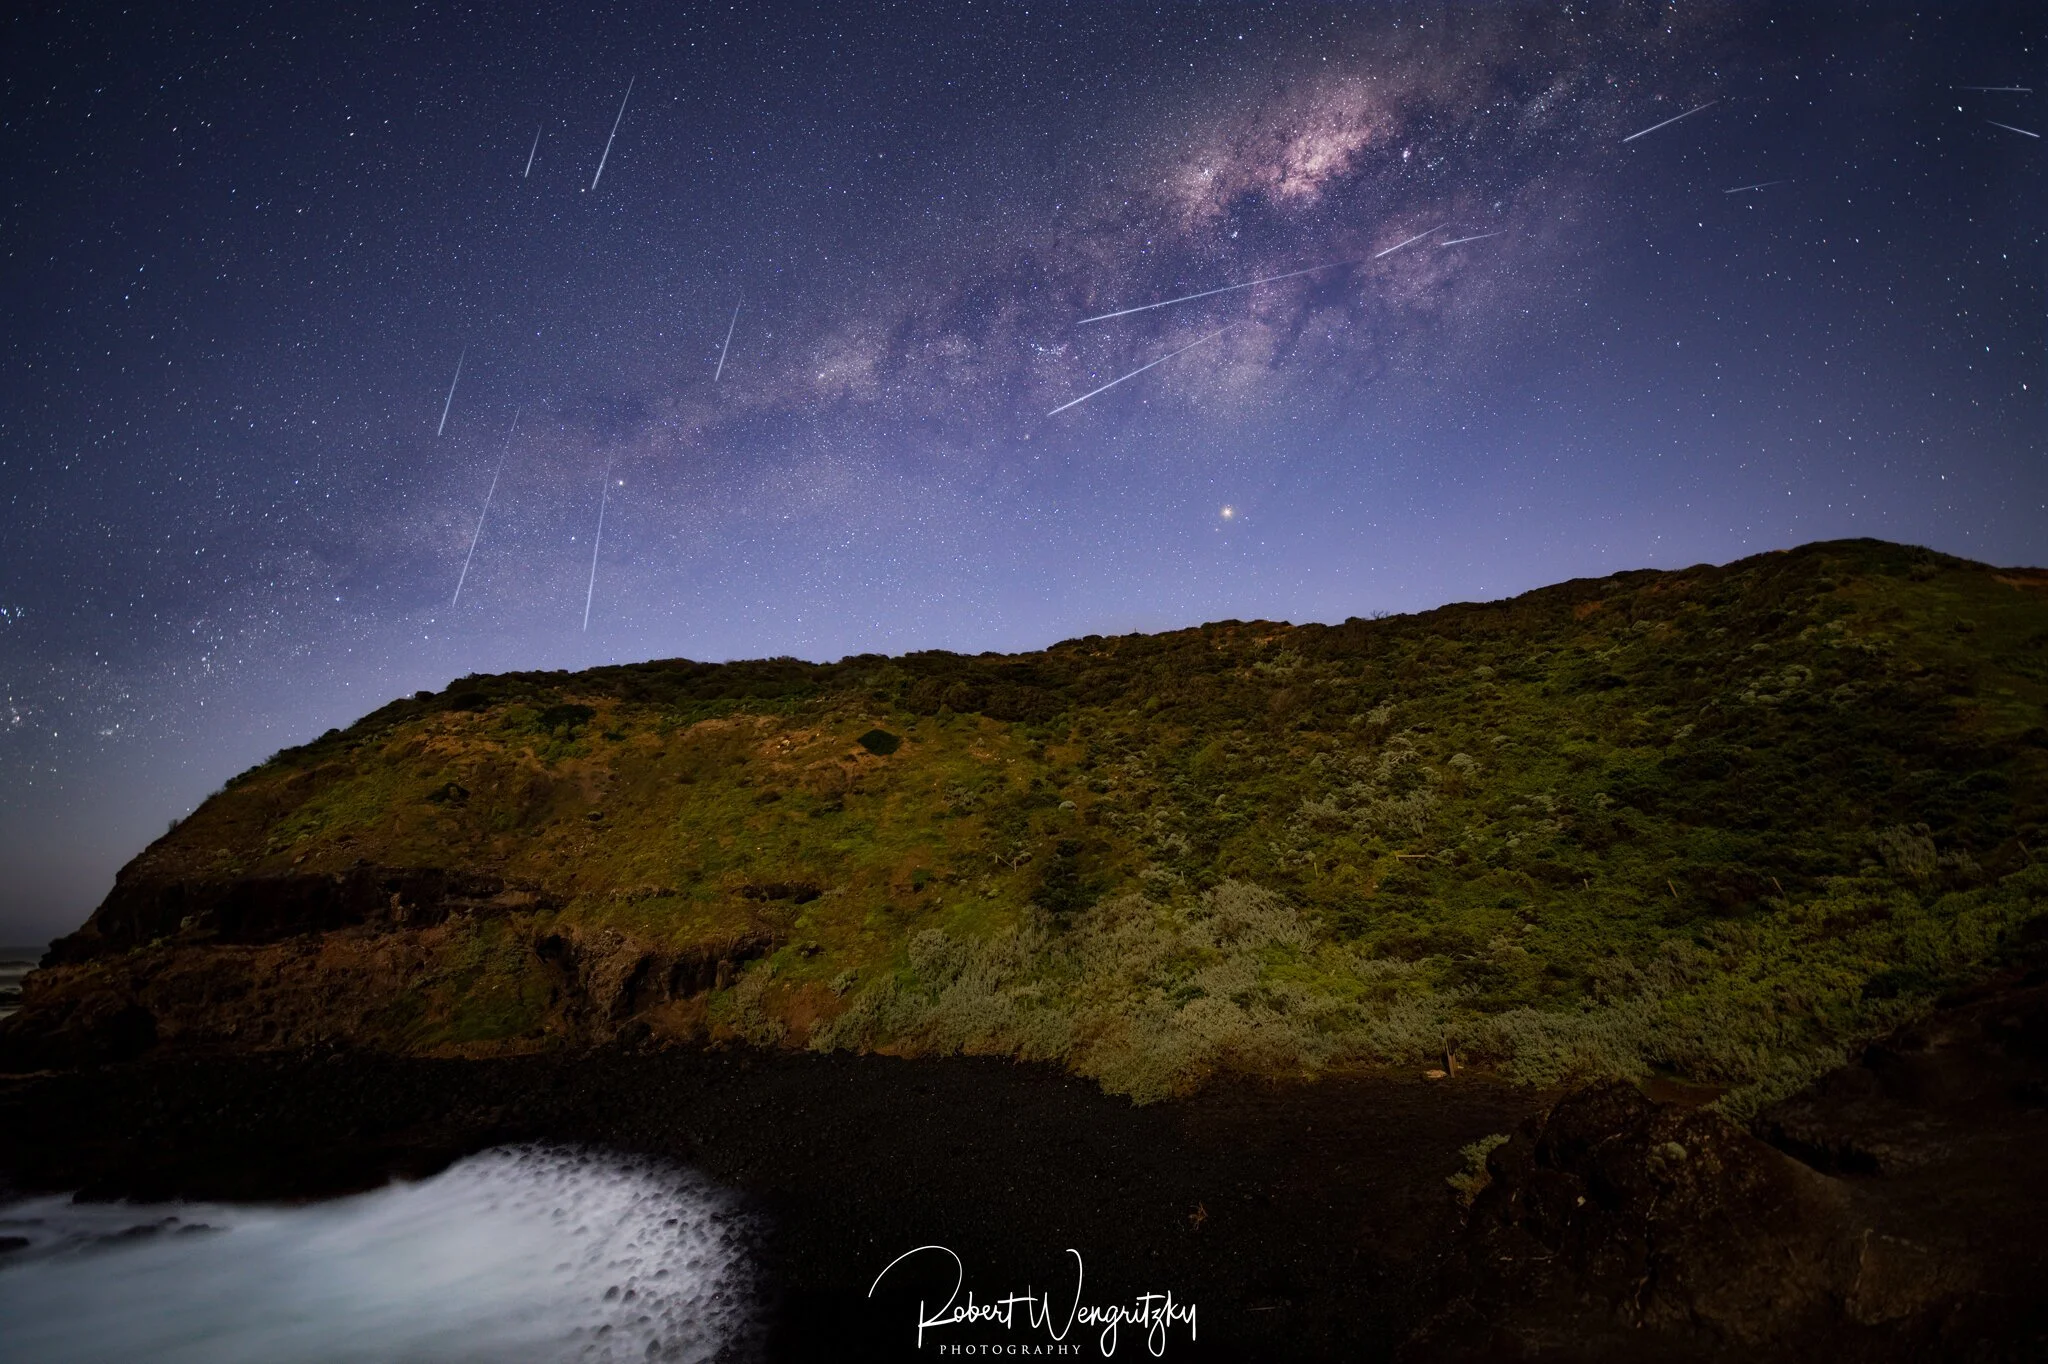
This foreground was taken at the very end of blue hour. I then sat down and shot a time-lapse, capturing multiple satellites zooming across the sky which combined well in this final stack
Using very long exposures
This is definitely my most used technique and can produce some great results as long as it is not too windy.
I mentioned before that my sky shots are usually only 8s at ISO 2000-3000, for this technique I shoot somewhere between 2-5 minutes depending on ambient light.
To combat noise, I also drop my ISO right down to 400-800 and will usually take ~3 shots to stack later in photoshop. Simple, yet very effective (see below)
A 3 minute foreground exposure with ISO of 800 worked to bring out all the foreground detail. This was then stacked with 2 further exposures to reduce noise even more.
A single 5 minute foreground exposure with ISO 400 not only brings out details but creates a beautiful flowing water effect off the rocks
3 minute exposures x3, stacked for further noise reduction taken with ISO 800 again allows for a nice crisp foreground to this night scene


